You imagined riding a rabbit all right… and you were trying to share your imagination with your family and children,–and your friends. Within this tutorial; I’ll show you how to make a sculpture of yourself riding a rabbit,–along with some obstacles you may encounter.
All you need is the following:
- Modeling clay that air dries,–hardening after some days. There are some modeling compounds available.
- Paint for painting your sculpture. Non-toxic paint is strongly recommended.
- Water-based gloss for shining and sealing your artwork.
- Optional display shelf.
First Things First
Go to your local craft store; or any store that sell art supplies. Find and purchase modeling compounds. Choose a large tub that is going to contain lots of material to make a model of yourself riding a rabbit. Find and purchase some paint for your project, and some gloss to shine your work.
If you were making a large sculpture… you need to purchase more material to do so.
Most importantly; don’t let anyone infringe your right to imagine something unique. It may sound “kiddish”, but it’s NOT!! Anyone can make a same sculpture,–with different ways.
To Begin
Open the tub of material, and grab a handful, and close the tub back to prevent the material from drying out. Even out your material by reducing unnecessary bumps, and grab prints.
Once you’ve prepared your material for making a sculpture. You are ready to begin a process of making a sculpture of yourself riding a rabbit. You can also look up different types of rabbits online, or go to a local animal shelter, a petting zoo, or a breeder’s location to get an idea which rabbit will match your imagination. Take pictures with your camera. If you’ve already memorized; you can start making a sculpture.
First Step
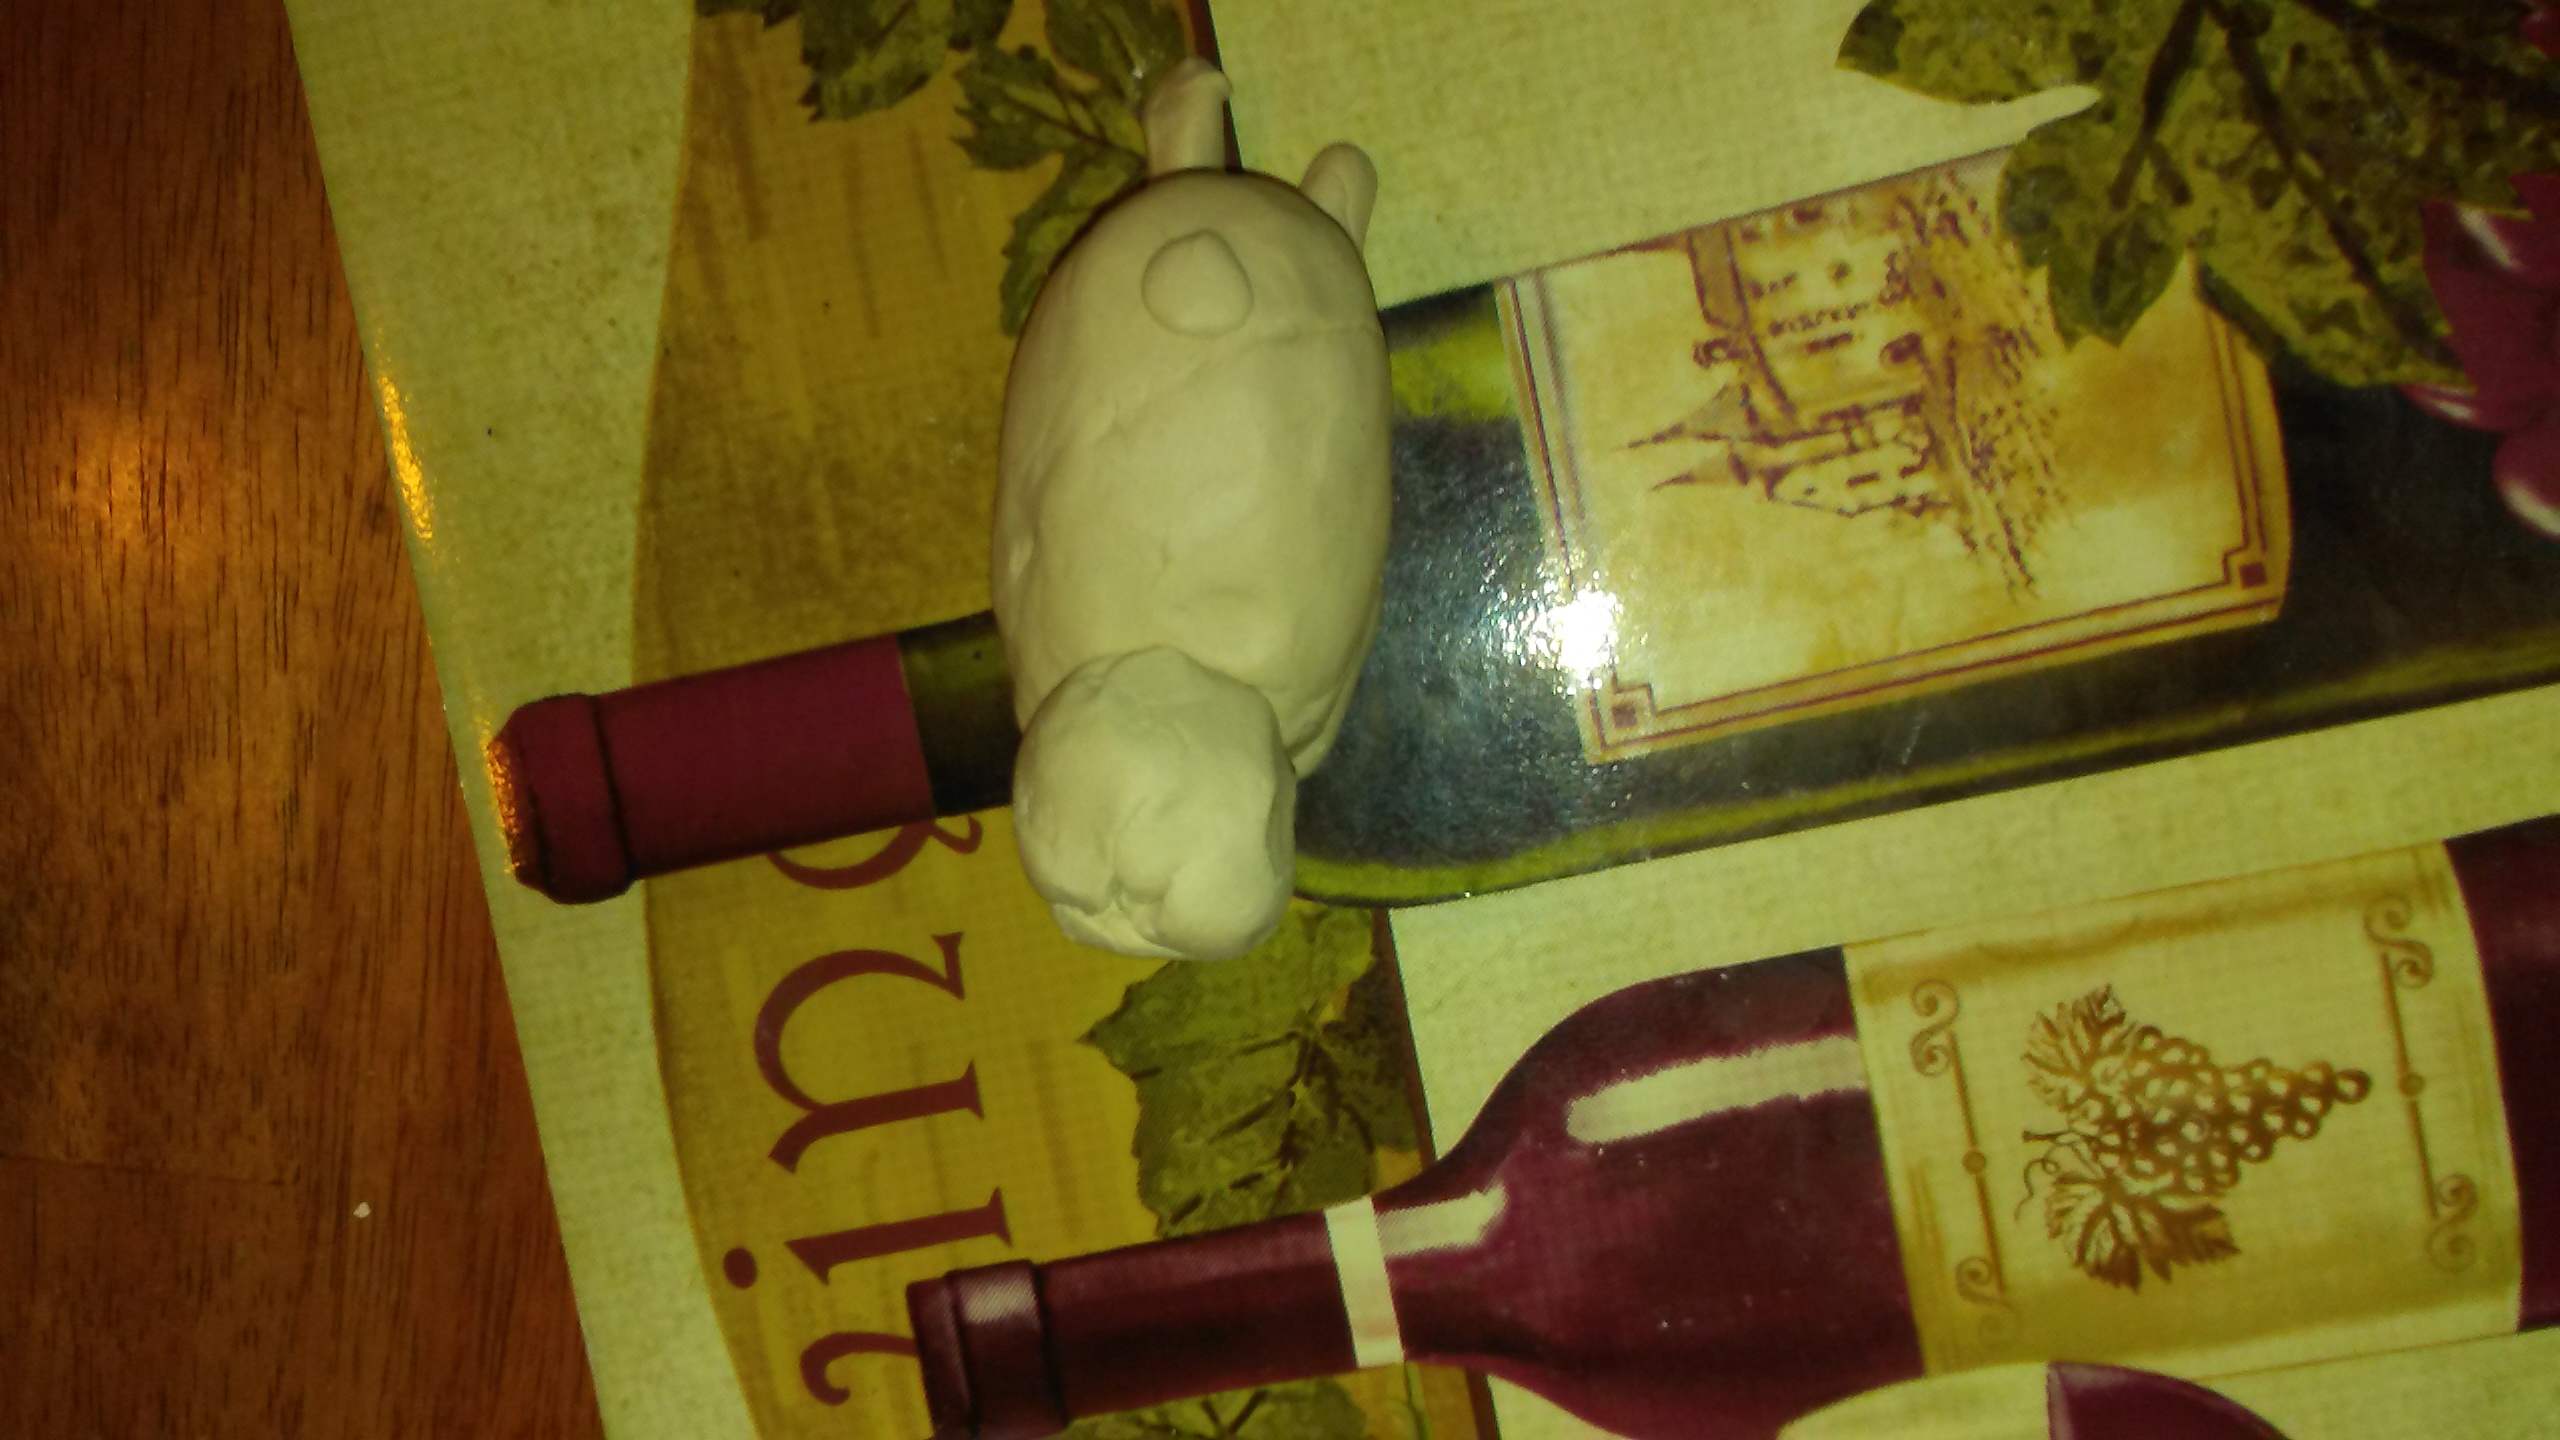
Make a body of a rabbit, along with it’s head and tail,–and legs. Your rabbit can be an animated version, or a real version. Don’t forget to implement ears on your rabbit’s head. Whether if your rabbit has upright ears, or floppy ears,-or downward ears.
Within your imagination; use any tool to texturize your rabbit’s body. Whether if it’s a furry texture, or a quilted texture..

Always start off with it’s body. It may take some time to implement it for your sculpture. It depends on your imagination… you can make it’s body short, or long.

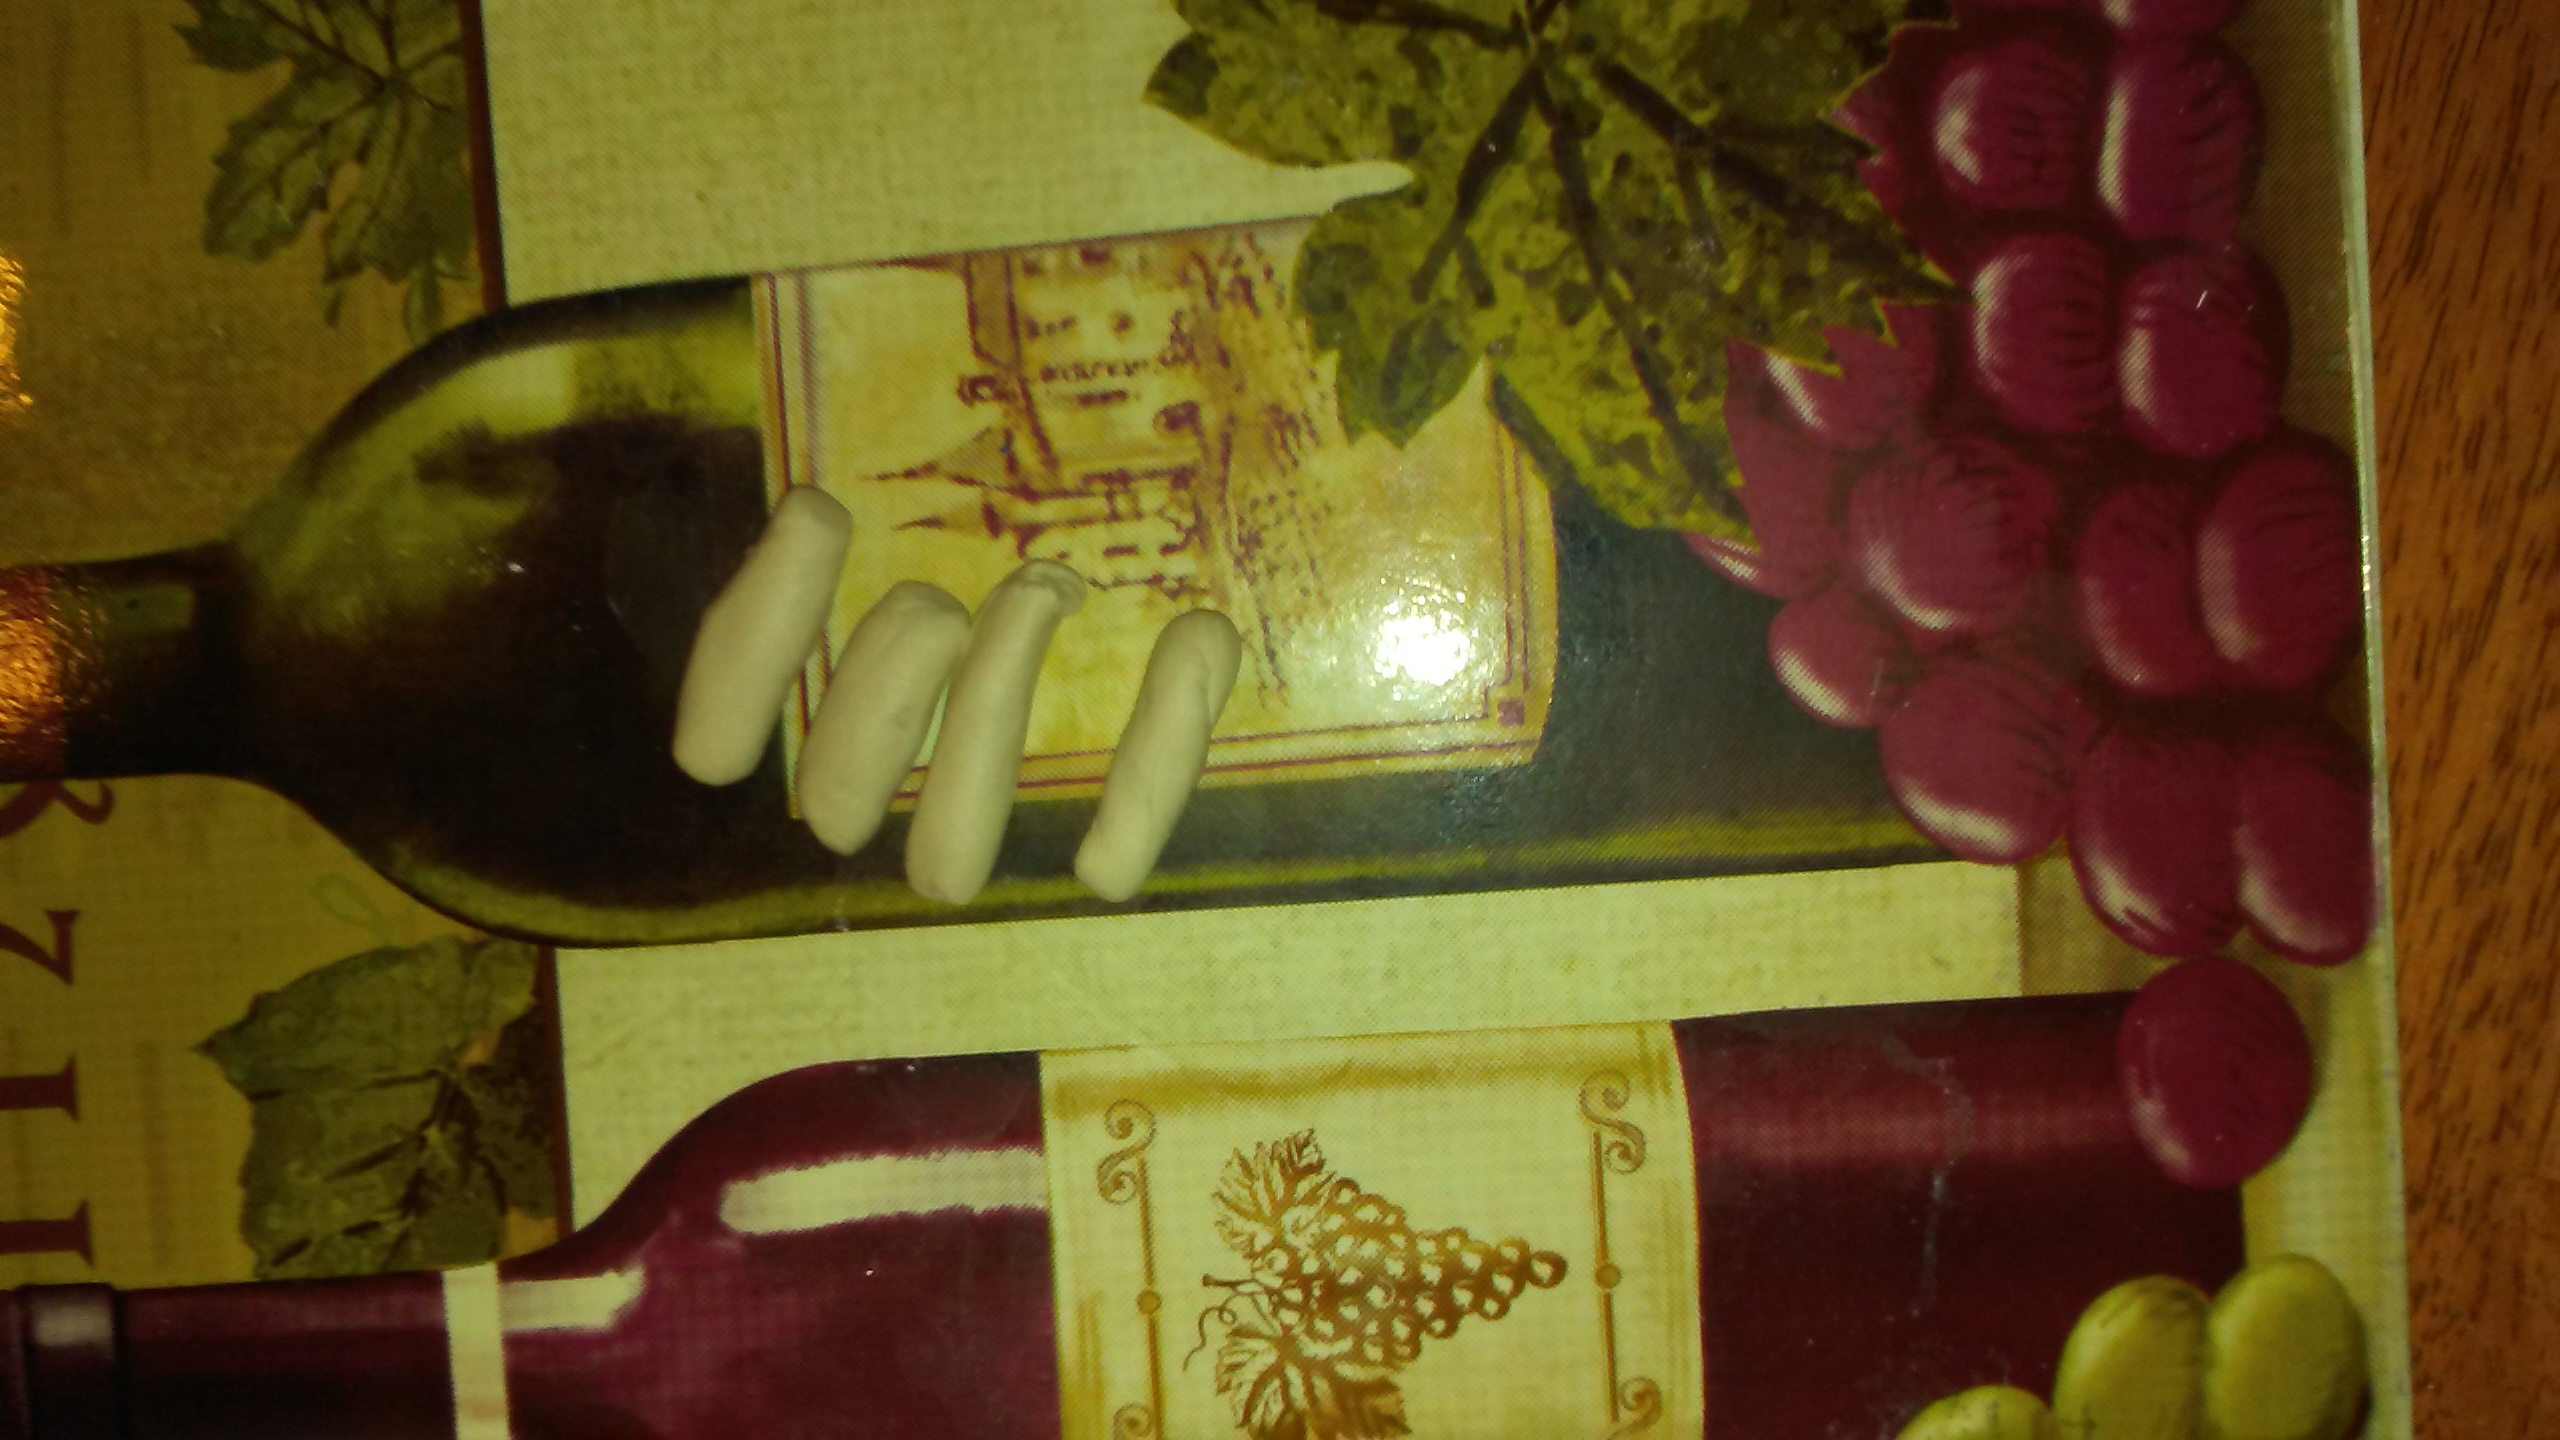
Make your rabbit’s legs by creating 4 rounded sticks. Make sure they’re equal in size.

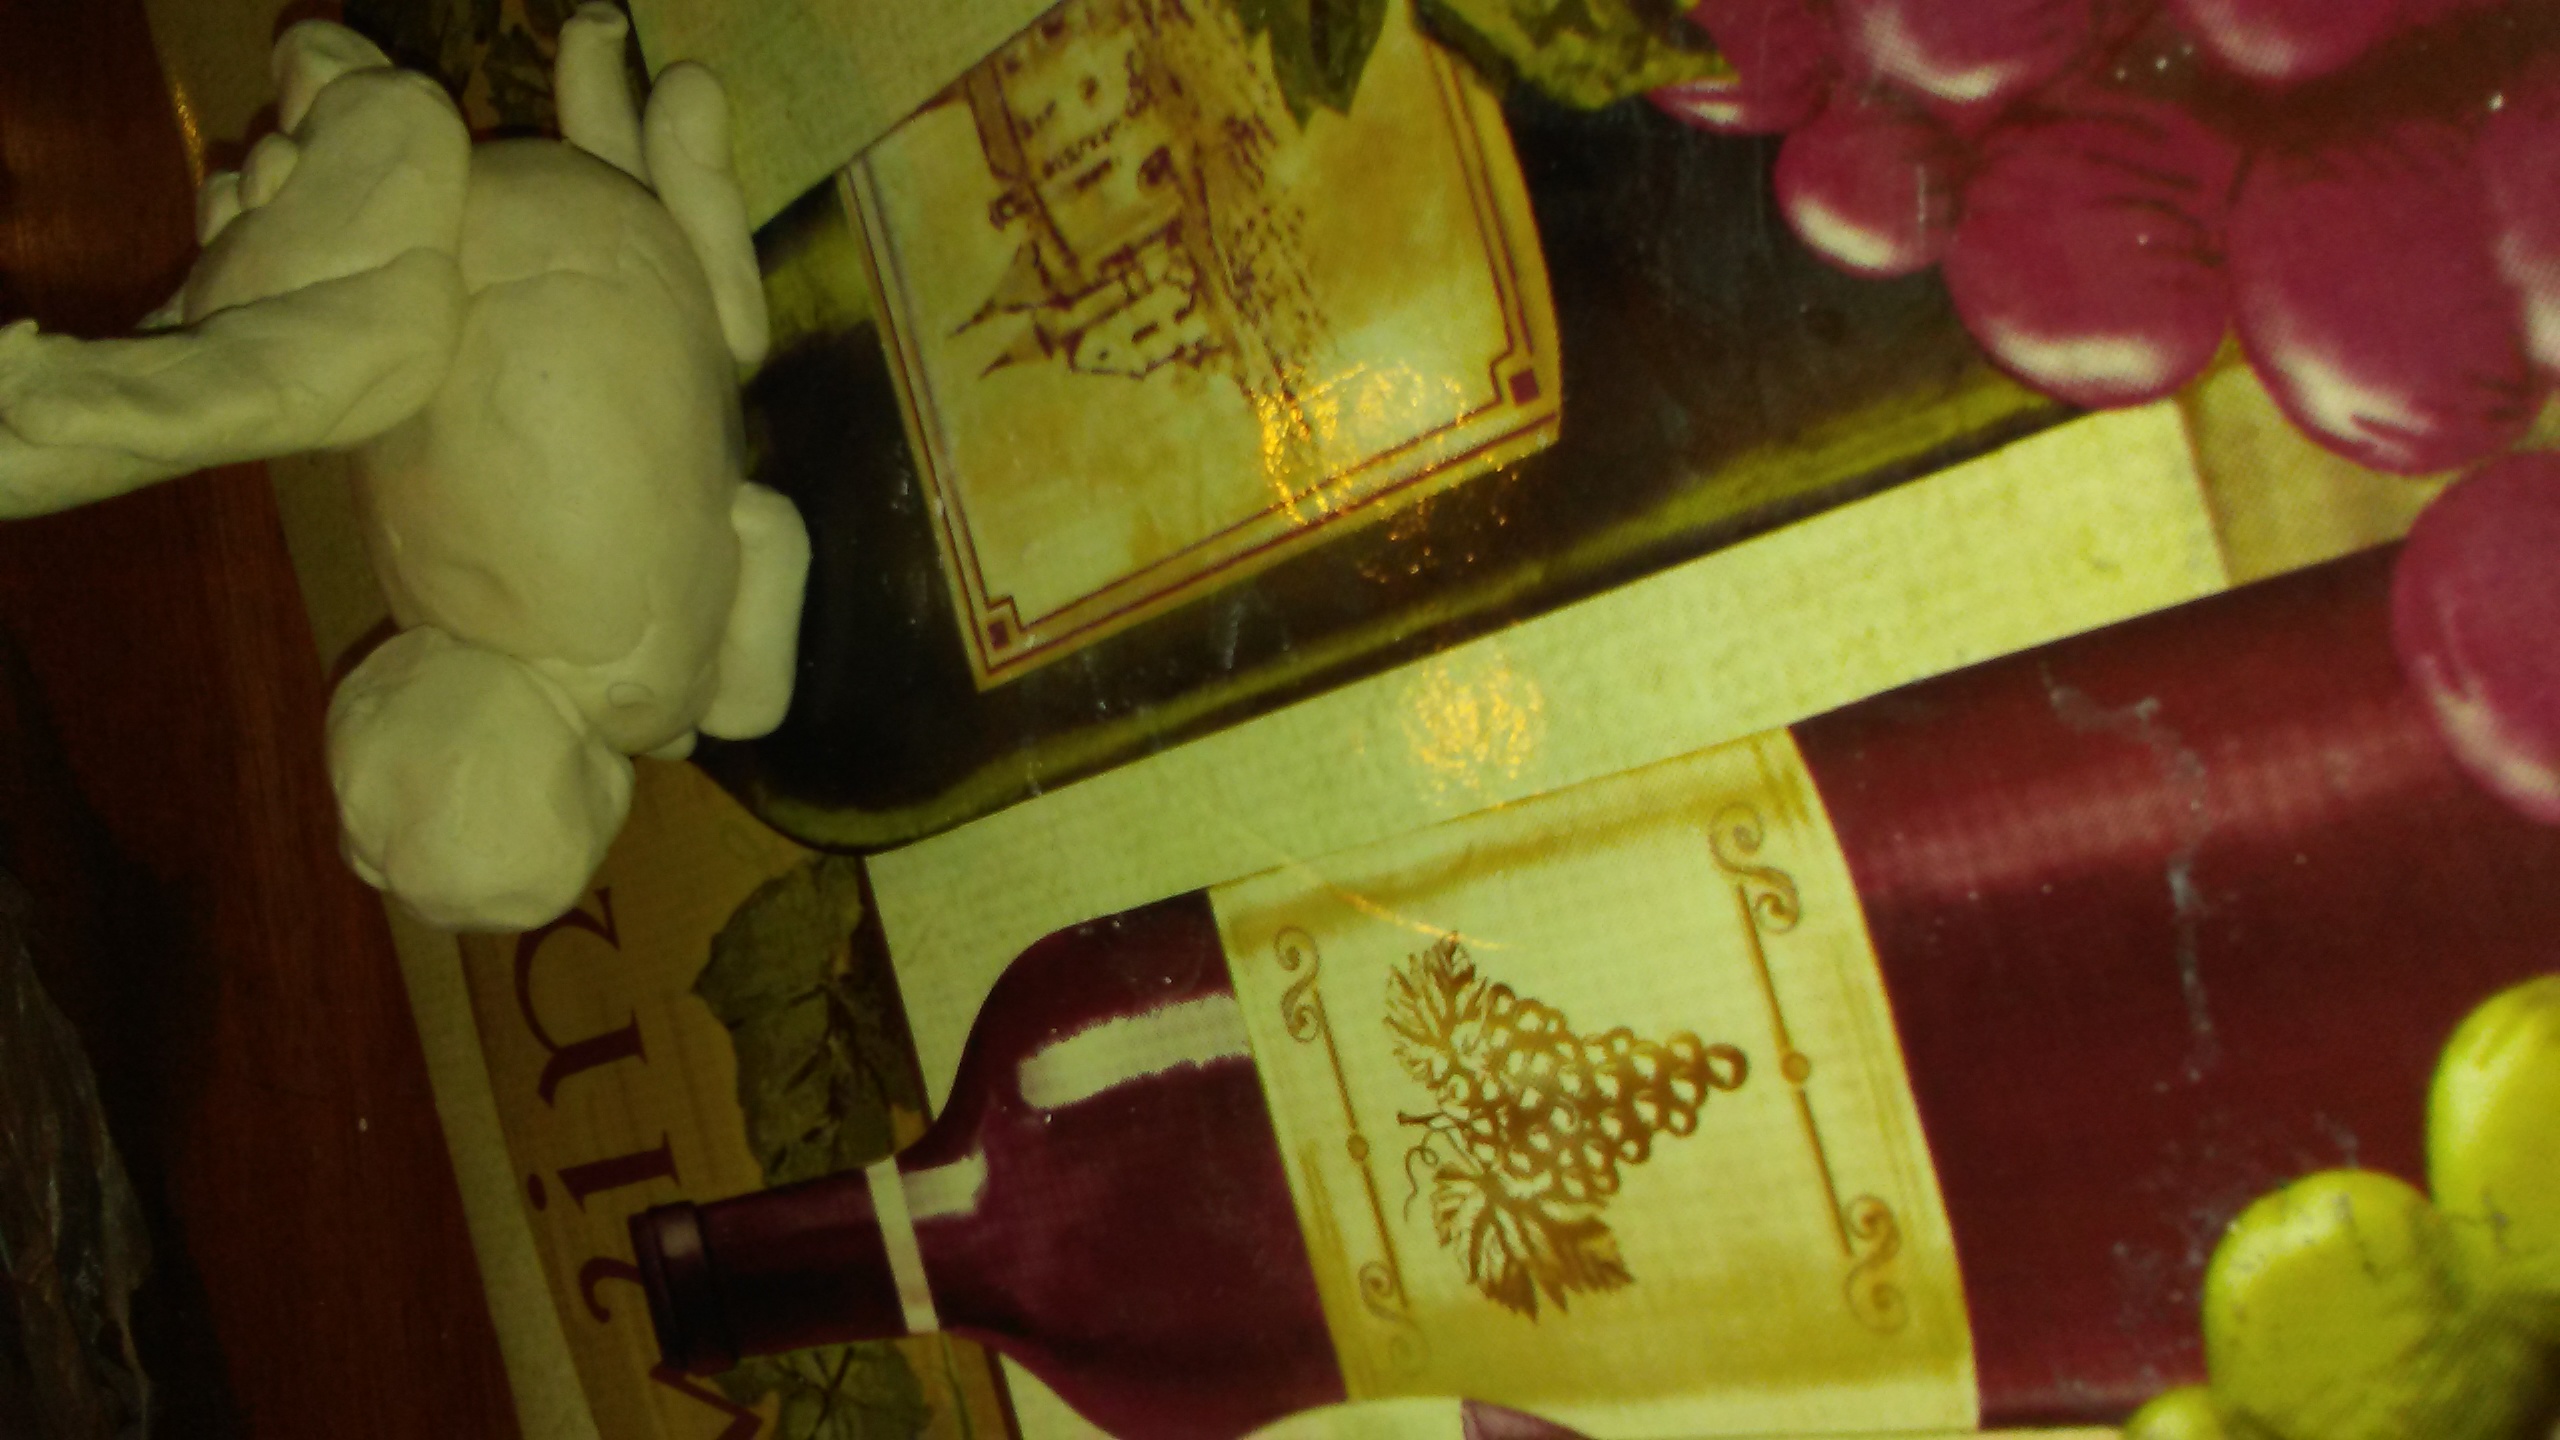
Attach it’s legs to it’s body. You might need a suspender to raise the body from your working surface. This is useful if you wanted to make your sculpture stand on it’s legs.

Attatch the rabbit’s tail. You can make your rabbit’s tail rounded, or any shape.

Attatch it’s head to it’s body. Varify if your attachments are connected like normally, otherwise it will fall apart when drying. You can add yourself on the rabbit’s back if you want, or let it dry for a short time, and do the next step.
Let your sculpture dry for some time, but don’t let it harden just yet.
Step 2
Go back to your sculpture, and varify if your artwork is not tampered by anyone.
There are 2 methods you can ride a rabbit in your imagination; depending on your preference. There are 2 common ways:
- Bareback Riding – This is common when riding animals in your imagination.
- Saddle Riding – This is the another preference of riding animals. This is common in anyone’s imagination.
If you prefer riding rabbits bareback in your imagination; follow these steps to complete your sculpture of yourself riding a rabbit:
- Start with molding your legs. Don’t be too big or small.
- Place your legs on your rabbit’s back. Be sure your legs are properly straddled . Varify if your legs are close to your rabbit’s head.
- Mold your body, and place it above your legs. Be sure to connect it firmly. Whether if you were leaning forward like a jockey, or riding upright like a normal rider. Be sure to implement strength to your artwork.
- Mold your arms, and place it on your molded body. You can format your riding position. Whether if you were hanging on tight to her ears, or an optional ribbon to control your rabbit.
- Add your head to your molded body. Don’t make it too big or small. Size it correctly.

Let your sculpture dry and harden for a few days. Be sure to remove suspenders from your sculpture. Be careful NOT to remove it too fast.
Step 3
Have your paint ready.
Paint your sculpture. You can use any color you want. For example; your rabbit is pink with a white tail, and a purple nose. You can paint yourself a color too. For example; green shirt, and black shorts.
After you were done painting; let it dry for a few days. Again… don’t let anyone tamper with your work.
If your painted work is now dry; your work is ready to be glossed to protect your work from damage. Glossing in layers is an important role to keep your art lasting for a long time.
Return to your work, and start glossing your work. You May gloss your work daily. This is easy to make your work shine overtime. If you can gloss your work up to 15 days,–depending on what kind of gloss what you’re using; you will get 15 layers of gloss. You’ll get a metallic look of your work.
Step 4
Write a description of your artwork, and implement an optional display.
You are done with your work.
Tips
You can implement you and your partner riding a rabbit as work of art. Be sure to varify if your sculpture is large enough. This is useful for married couples. Alternatively, you can create a secondary sculpture of your partner riding a rabbit. This is useful if you are creative.
What I’ve mentioned earlier… your rabbit what you’re riding in your imagination can be in any color,–or common nature color, such as white, brown, black, gray, or multi-color.
In common; animal-riders use their hands feet, or both to control movement of their animals,. You are a controller,–sending signals. It’s kind of like controlling a car, or truck, but different.
If you need a plush version of a rabbit for you to ride, find a free-lance artist who will sew one for you.
If you were using real clay to do real art; you can do the same thing.
If you’re so complex with your imagination; you can make a theme that goes with your sculpture.
If you had a website; you can post pictures of your artwork. This is useful if you wanted to share your work to the world.
If you had lots of artwork; you can host your art show for your community. This is Useful for showing your work.